
How to Send Eventor QR Codes to Your Guests with Mailchimp
Step by step: export the per-guest QR code links from Eventor, import them into a Mailchimp audience as a merge field, and send every guest their personal QR ticket in one campaign.
Eventor team6 min read
Every guest in Eventor has a unique QR code. Scan it at the door and the guest is checked in within a second. The question we get most often is: how do I get that QR code to each guest?
Eventor does not send bulk e-mail itself. Instead it gives you a personal QR code link for every guest, and you send those links with the e-mail tool you already use. This guide uses Mailchimp, because it is the tool most of our customers already have, and because merge tags make personal QR codes trivial. The whole process takes about 20 minutes the first time and 5 minutes after that.
What you need: an Eventor event with guests imported (see how to import an Excel guest list or start from the free template), a Mailchimp account (the free plan works), and e-mail addresses for your guests.
Rather not do it yourself? We set up the QR code campaign for you: Mailchimp, Paperless Post, Campaign Monitor, Brevo or the tool you already use. It is included for Gold customers and available as a service for everyone else. Write to support@eventor.app with your event date and guest count.
How Eventor QR codes work
- Each guest gets a code that contains only their Eventor guest ID. It has no personal data in it.
- The code is delivered as a web link to an image (for example
https://api.qrserver.com/v1/create-qr-code/?data=EVENTOR:GSTID:…). Opening the link shows the QR code; e-mail tools can embed it as an image. - The Eventor iOS and Android apps scan these codes with the built-in camera scanner. There is nothing to configure on the app side.
Step 1: Export the QR code data from Eventor
- Open your event at events.eventor.app and press Export.
- Expand Advanced options and tick Export QR Code data.
- Choose CSV as the format (Mailchimp imports CSV most reliably) and download the file.
Open the file. You will see the usual guest columns plus two new ones:
| Column | What it contains |
|---|---|
QR Code |
The link to the QR image for this guest. This is the one you will use. |
QR Code data |
The raw text encoded in the code (EVENTOR:GSTID:…). You do not need it for Mailchimp. |
Keep at least these columns: First name, Last name, Email Address, QR Code. Delete guests without an e-mail address, or they will fail the import.
Step 2: Add a QR code field to your Mailchimp audience
Mailchimp stores per-contact data in audience fields, and each field has a merge tag you can drop into an e-mail.
- In Mailchimp go to Audience → All contacts, open Settings and choose Audience fields and *|MERGE|* tags.
- Press Add a field, pick the type Text, name it QR code and set the merge tag to
QRCODE. - Save. You now have a
*|QRCODE|*tag that will be replaced with each guest's link when the campaign is sent.
Tip: create a separate audience or a tag such as Summer Gala 2026 for each event. Guests change from event to event, and you do not want last year’s QR code to reach this year’s list.
Step 3: Import the guests with their QR links
- Go to Audience → Import contacts → Upload a file and pick the CSV you exported from Eventor.
- In the column-matching screen map
Email Address→ Email Address,First name→ First Name,Last name→ Last Name andQR Code→ QR code (the field you created). - Tick Update any existing contacts so a re-import after last-minute changes overwrites the old data.
- Finish the import and open one contact to check that the QR code field contains a link starting with
https://.
Step 4: Put the QR code into your e-mail
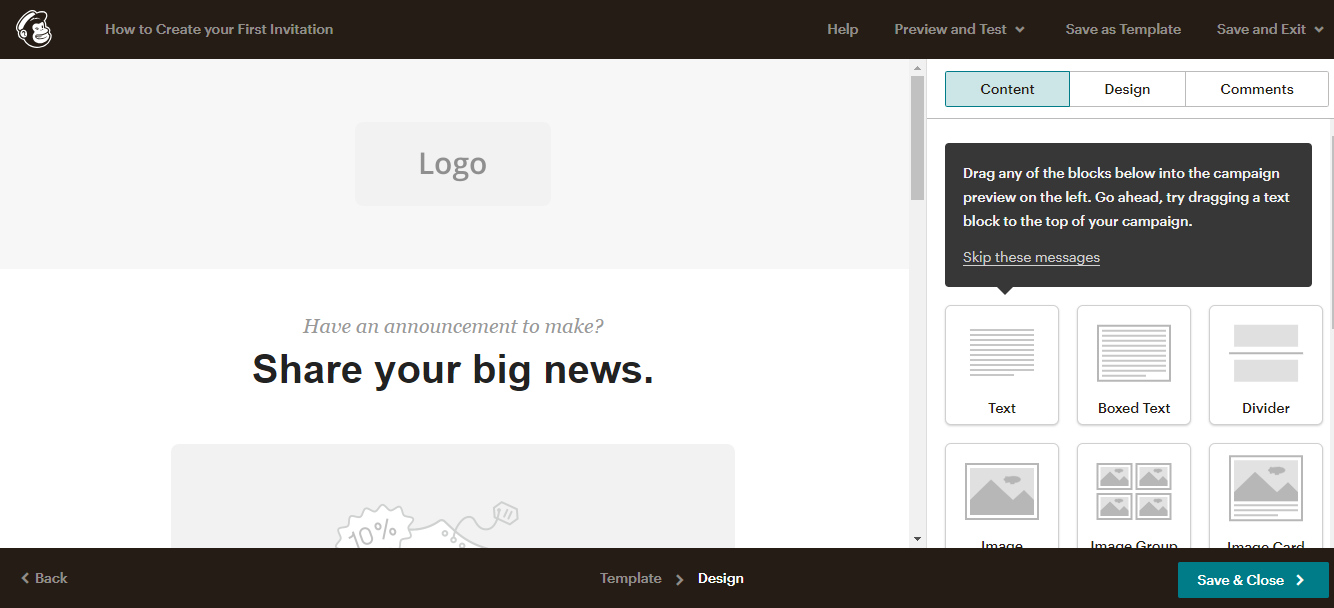
Build your campaign as usual: event name, date, venue, dress code. Where the ticket should appear, add the QR code image using the merge tag as the image source.
With a Code block (most reliable): drag a Code content block into the layout and paste:
<p style="text-align:center;margin:0 0 8px;font-weight:bold;">Your personal entry code</p>
<p style="text-align:center;margin:0;">
  <img src="*|QRCODE|*" alt="Your QR code for *|FNAME|*" width="220" height="220" style="display:inline-block;border:0;">
</p>
<p style="text-align:center;font-size:12px;color:#666;">Show this code on your phone at the entrance. One code per guest.</p>
Mailchimp replaces *|QRCODE|* with each guest’s link at send time, so every recipient sees their own code.
With an Image block: newer Mailchimp editors also accept a merge tag in the image URL field. Insert an Image block, choose Use a URL and paste *|QRCODE|*. If your editor does not accept it, fall back to the Code block above.
Add the link too. Some corporate mail clients block images by default. Add a plain text line such as Can’t see the code? Open it here: *|QRCODE|* so guests can always tap through to their code.
Step 5: Test before you send
- Use Preview → Enter preview mode → Live merge tag info to click through a few contacts and confirm each shows a different QR code.
- Send a test e-mail to yourself with a real contact selected, open it on your phone.
- Open the Eventor app on another device, go to the event, tap the scanner icon and scan the code on your screen. The guest is checked in. Then tap the guest and reset the check-in so the real count stays correct.
Step 6: Send, and handle late changes
Send the campaign. For guests added after the send:
- Import the newcomers into Eventor, export the QR data again (tick Export QR Code data), and import only the new rows into Mailchimp.
- Send the same campaign again to a segment that contains only the new contacts, or resend to non-openers after 48 hours.
Because the code contains only the guest ID, a guest who was re-imported into Eventor gets a new ID and therefore a new code. Avoid deleting and re-importing the whole list after you have sent the codes.
At the door
- Set up the door team first: how to check in guests with your phone or iPad and how many devices can scan at once.
- Scan with the QR button in the Eventor app. The screen turns green with the guest’s name; VIPs and plus-ones are shown so the hostess can react.
- A code scanned twice shows already checked in, which stops ticket sharing.
- No signal at the venue? Scanning still works: the guest list and the codes are on the device, and check-ins sync as soon as the connection is back. See Does event check-in work offline?
Frequently asked questions
Can Eventor send the e-mails for me? Yes, as a service rather than a button. We build and send the QR code campaign for you in Mailchimp, Paperless Post, Campaign Monitor, Brevo or your own tool. It is included with Gold event packages and Gold subscriptions (see pricing); for Bronze and Silver events we quote a small fee based on the guest count. Write to support@eventor.app with the date and the number of guests.
Does this work with Paperless Post, Campaign Monitor, Brevo or HubSpot?
Yes. The principle is identical: import the QR Code column as a custom field and use that tool’s personalisation tag as the image source ([qrcode,fallback=] in Campaign Monitor, {{ contact.QRCODE }} in Brevo, {{ contact.qrcode }} in HubSpot). Paperless Post does not support merge images in its designs, so there we add the personal QR link as a per-guest “View your ticket” link, or we send the codes for you. Coming from Paperless Post with your guest list? See the help center article on importing from Paperless Post.
Can I put the QR code in a PDF ticket or an Apple Wallet pass? The link returns a PNG image, so any tool that accepts an image URL per recipient can place it: mail-merge PDF tools, badge printers, or a wallet-pass generator.
Can guests get the code on WhatsApp instead? Yes, see Sending guest QR codes over WhatsApp.
I already sold tickets with another tool that has its own QR codes. Then you do not need Eventor’s codes at all. Import the ticket barcode as the Barcode value and enable the custom barcode option in the event settings; the Eventor app will scan the existing tickets. See Import Eventbrite attendees into Eventor.
Try it yourself
Run your next check-in with Eventor
Free for up to 30 guests. Import Excel, invite your team, scan QR codes on iPhone, iPad and Android.
Keep reading

Sending Guest QR Codes over WhatsApp (and SMS)
For small and VIP guest lists, WhatsApp beats e-mail: higher open rates and the code is on the guest's phone at the door. How to get each guest's Eventor QR code and send it over WhatsApp or SMS.
· 3 min read
Import Eventbrite Attendees into Eventor and Scan Their Tickets at the Door
Sell tickets on Eventbrite, run the door with Eventor: export the attendee report, import it with the ticket barcode as the scan value, and check guests in with the Eventor app on several devices, offline if needed.
· 3 min read
 Tools
ToolsTop 3 Newsletter Tools for Event Organizers (Mailchimp, Campaign Monitor, SendGrid)
A comparison of Mailchimp, Campaign Monitor and SendGrid for sending event invitations and newsletters: free plans, editors, automation and pricing.
· 6 min read